There are 6 parts to this tutorial- each nail and then the clean up. Some have more steps than others, and one of the pictures for the ring finger went missing, but I'll explain the missing step later on.
Step 1 of the thumb's spider web design is the base. I used a coat of black, then put Orly's RIP over the top (it's too sheer alone)

The next step is to do the lines for the web. I did one horizontally, one vertically (an upside down 'L') and then one diagonally from the corner. I used a white nail art polish and a dotting tool because my white striper has seen better days.

Finally, join the parts of the web together. Make small almost-semi circle shapes to join each line, like the 'bumps' on a letter 'm'. I did this twice as my web lines were small, but you can do it across your whole nail for a more detailed effect.

Part 2- The Index Finger
For the base of this nail, I used Orly's In The Navy. I only used one coat and it dries really quickly- I really should use it more often!

Next, I did the outline of the tree. I used Ciate's Cream Soda (a light grey) to add a moonlit effect to the overall design. Again, I used a dotting tool to create this design.

Finally, I went over the tree with a black polish. I left tiny bits of the grey on show to better define the tree and to add the moonlit effect I was on about above.

Part 3- The Middle Finger
This was 'my' nail that Hannah and I came up with- a bloody fingerprint. I did a base of newspaper print (using NO alcohol) to give it a more 'crime scene' effect, but when it came to it, the print covered most of the paper so this is optional. You could do the newspaper print and splatter 'blood' or do the print more off-centred so that both are more apparent.
For the base, I used 1 thin coat of Nails Inc's 'The Perfect Nude' in Eaton Terrace.

Next up, the newspaper. I dipped the paper in water for around 20 seconds (almost like a decal) and pressed it onto my nail firmly.

Afterwards, I removed the paper carefully to reveal the design. Topcoat this nail almost straight away, because the print will just wipe off otherwise.

After this, I did the bloody fingerprint. I used Rimmel's Redder Than Red and painted thickly over my finger. I pressed my finger over some paper a couple of times to remove excess before using it on my nail.

To put the print onto my finger, I pressed from left to right, like how you'd move a stamping plate. It also dried almost instantly like stamping so make sure you do it quickly.

Part 4- The Ring Finger
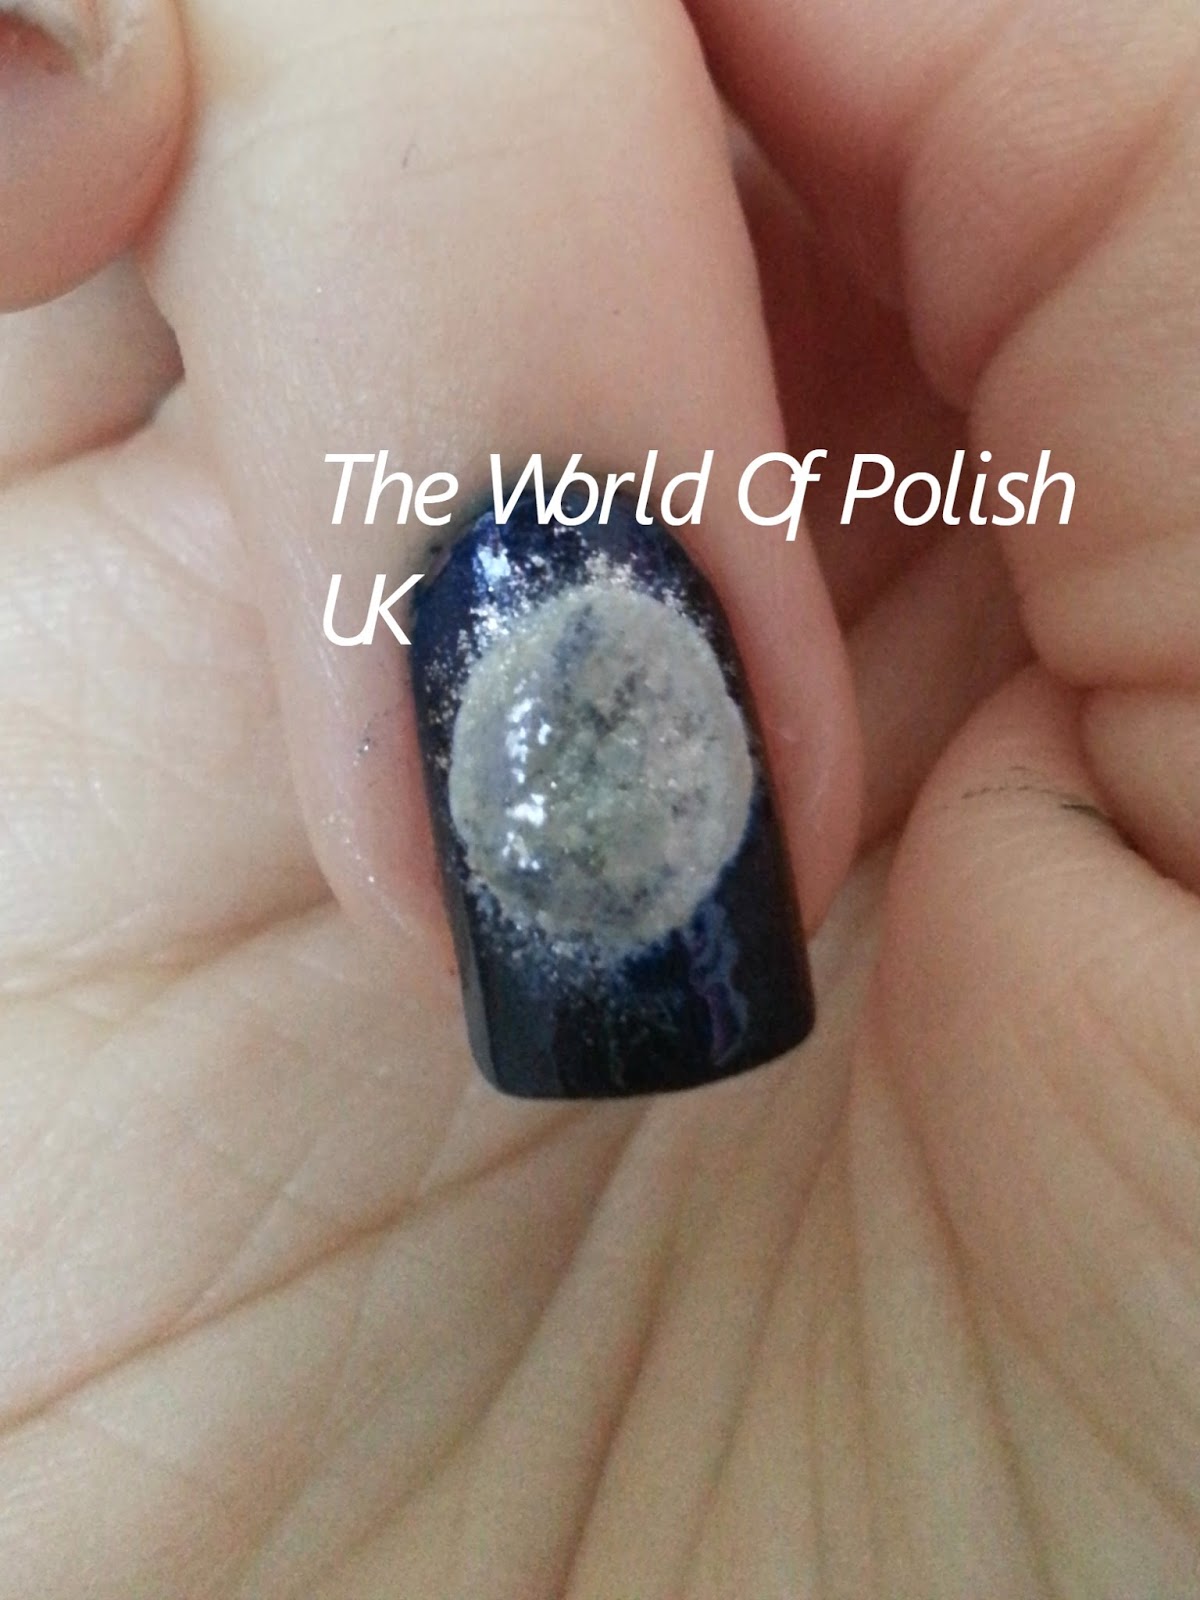
For the base of this cat and moon nail, I used Orly's In The Navy like I did on my index- it gives the perfect amount of shimmer for a night time sky.

Next, I did the moon. I used a dotting tool, and managed to get some blue on it because I did it before the blue was fully dry, but it gets covered in the next step.

After making the outline, I sponged over the white with grey and silver, letting the silver go slightly outside of the shape to give the impression of moonlight.
Next, I started the body of my cat. I made a 'carrot' shape and the widened and squared off the bottom where the feet will go.

This next step may be a bit complicated, because I lost all of the other steps as mentioned at the start. First, add the cat's head (a simple large dot). Then, add the ears with your smallest dotting tool making two tiny triangles.
Then, for the legs, make a small 'butterfly' shape at the base of the body to make the silhouette for the bent 'sitting down' legs of the cat. I've also lost the picture of the tail, but I just make a tail shape with my dotting tool from the middle of the 'butterfly' on one side.

Part 5- The Pinky Finger
For the mummy nail, I started with the same base as my middle- Nails Inc's Eaton Terrace. I only did a thin layer because there is going to be some layering in the next step.

For the bandage effect, I sponged my base colour along with a light brown (Barry M's Mushroom) and a darker sandy nude (Sally Hansen's Quick Sand). Whilst it was still partly wet, I dabbed my finger onto the nail to add texture.

To make the 'opening' where the eyes are, I used She Sells Seashells' straight vinyls to get perfect lines. To get them perfect, apply the polish and take the vinyl off quickly and carefully with tweezers.

For the eyes, I simply used a white polish and then added red pupils to add to the theme that little bit more. Make sure the white is completely dry to avoid simply picking it up when you try to put the red on.

Final step- The Clean Up
Topcoat your design after as long as possible to avoid smudging, then clean up with your favourite clean up brush. You now have the perfect Halloween mani to scare the night away with.

No comments:
Post a Comment